
Building an ADU is a complete house compressed into a small footprint. Foundation, framing, roof, plumbing, electrical, mechanical, insulation, finishes, inspections. Everything a full home needs, minus the square footage to hide any of it.
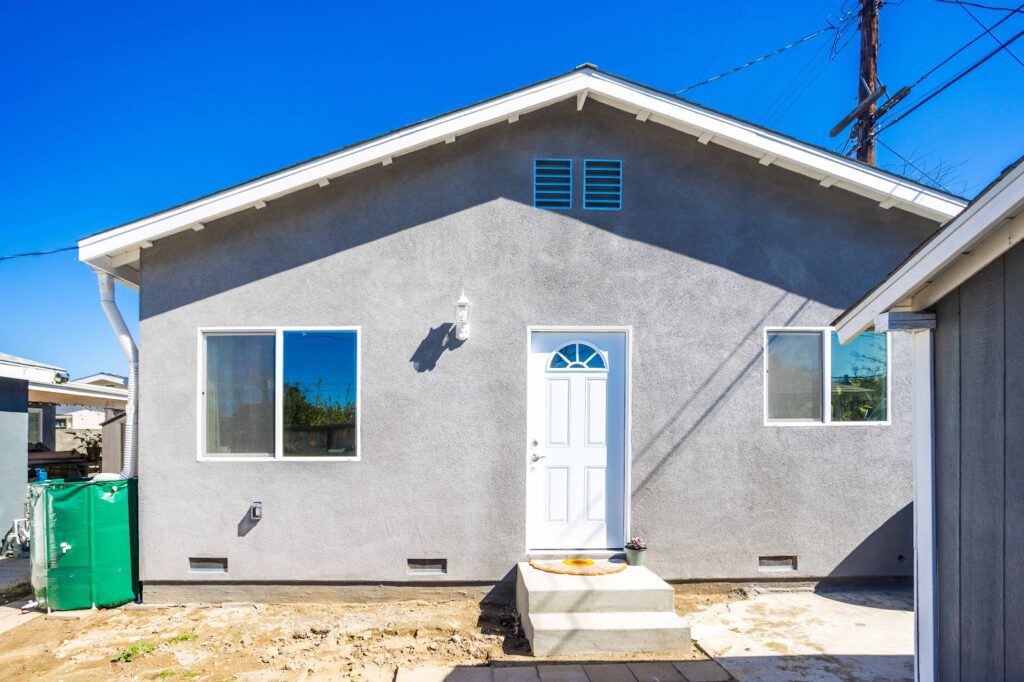
That is why the photographs below are worth looking at in order. The early ones show the stage most people never see: a shell standing in a back yard with a portable toilet beside it and bare dirt where a lawn will go.
This is what building an ADU actually looks like from start to finish, stage by stage, and the decisions that matter most at each one.
What building an ADU actually involves
An accessory dwelling unit is a second, independent home on a lot that already has one. Independent is the operative word, and it is what makes building an ADU a different exercise from adding a room. It needs its own kitchen, its own bathroom, its own entrance and its own utilities.
California has spent several years making these substantially easier to permit than they once were, which is why you see so many going up. Local rules still vary a great deal between cities, though, so the only reliable first step is your own planning department. The state’s Department of Housing and Community Development publishes current guidance worth reading before you commit to anything.
What does not vary is the build itself. The sequence below is the same everywhere.
The short version:
- Design and permitting usually take longer than construction.
- Utilities are the hidden cost, not the finishes.
- Full-size appliances fit. Use them.
- Inspections sit between stages, so delays compound.
Stage one: the shell
Site work comes first. Clearing, excavation, trenching for services, then the foundation. On a small building this moves quickly, but it is also where surprises live — existing drains, old footings, tree roots and soil conditions that nobody could see from the surface.
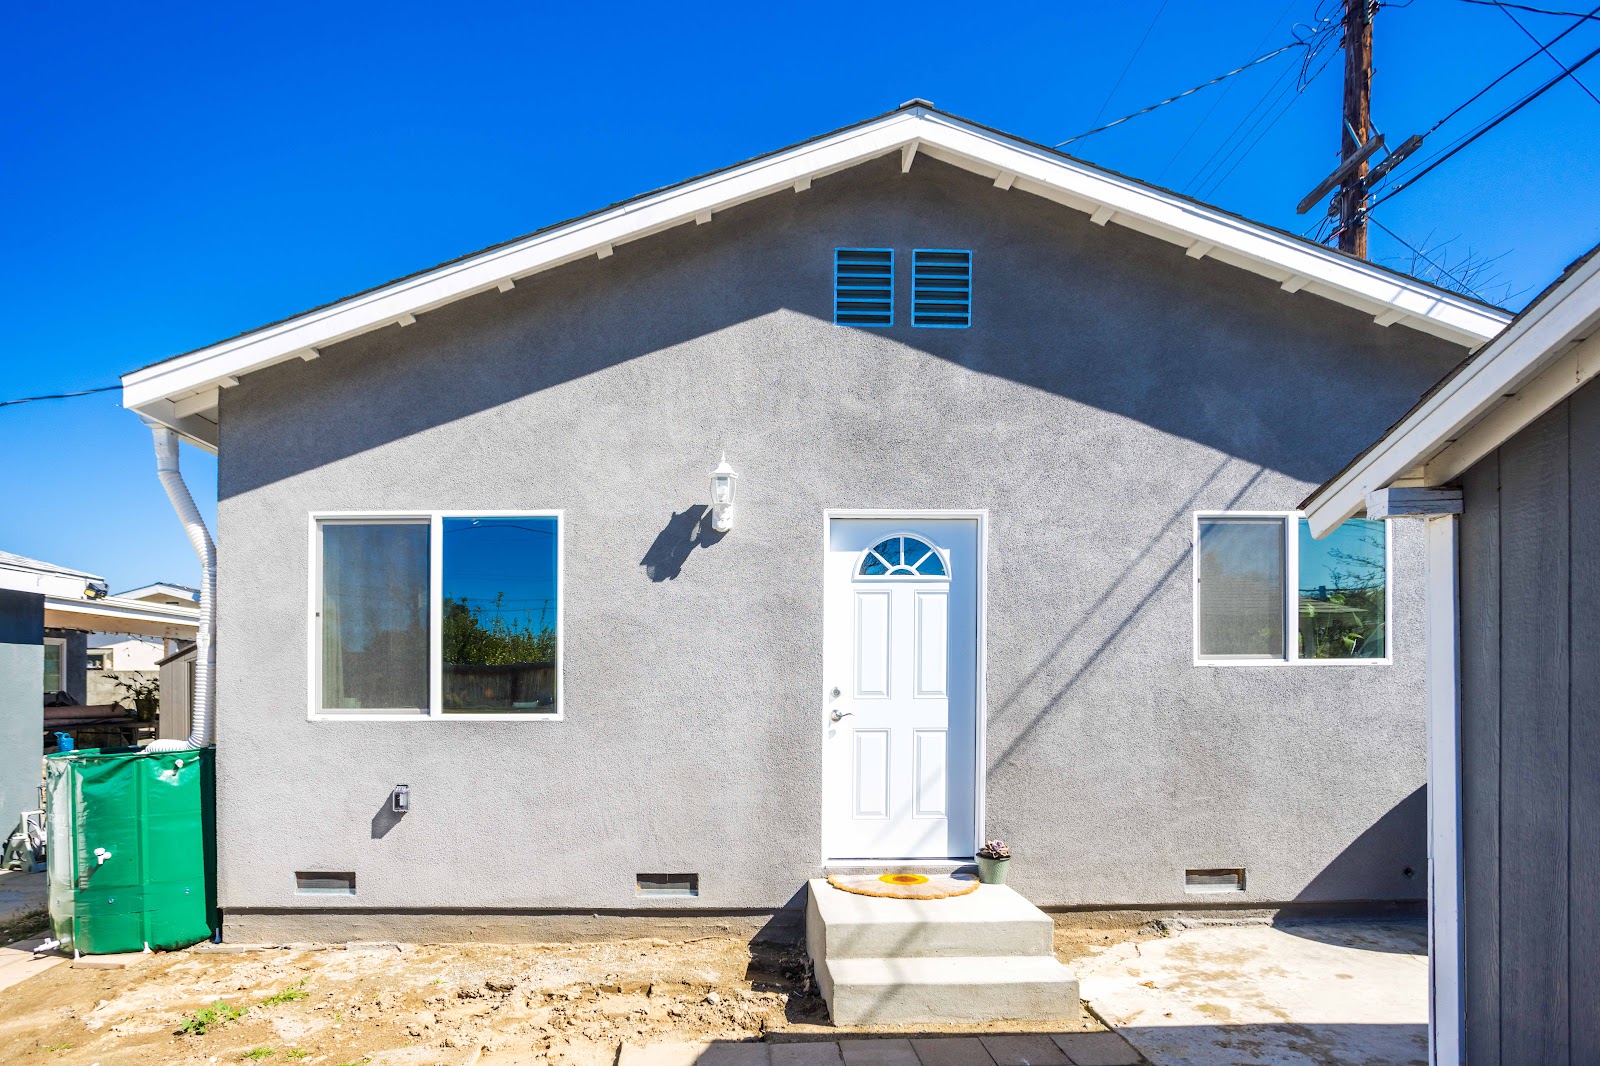
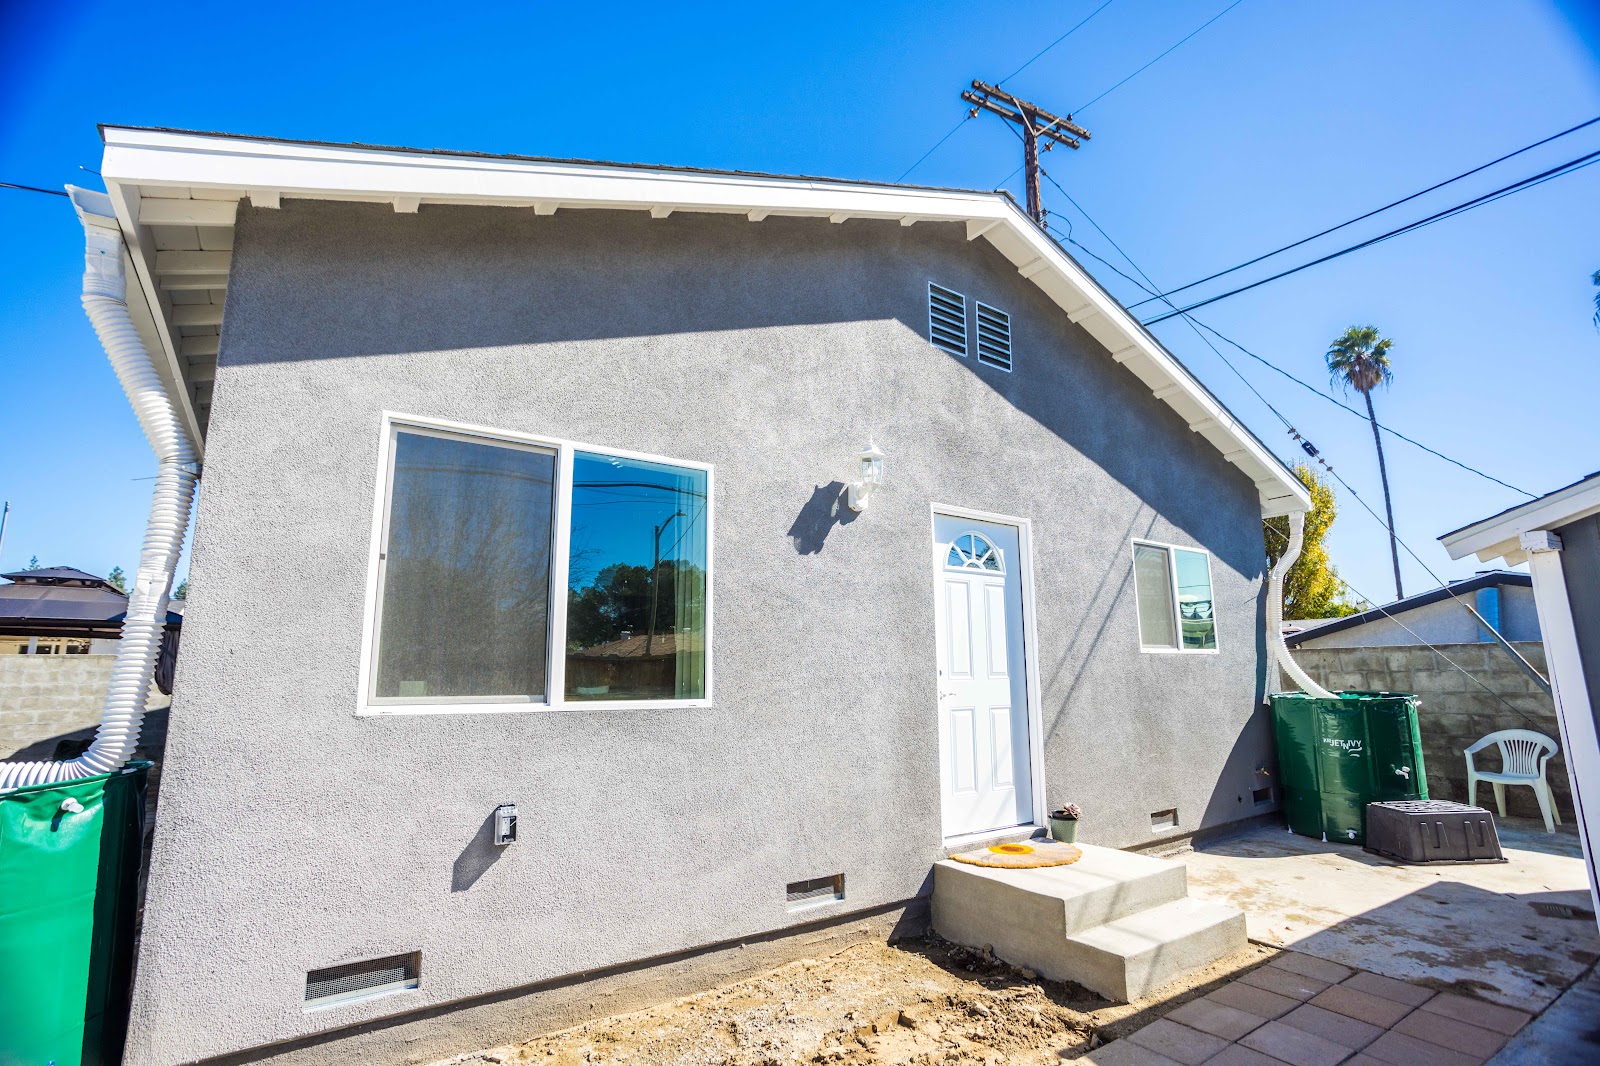
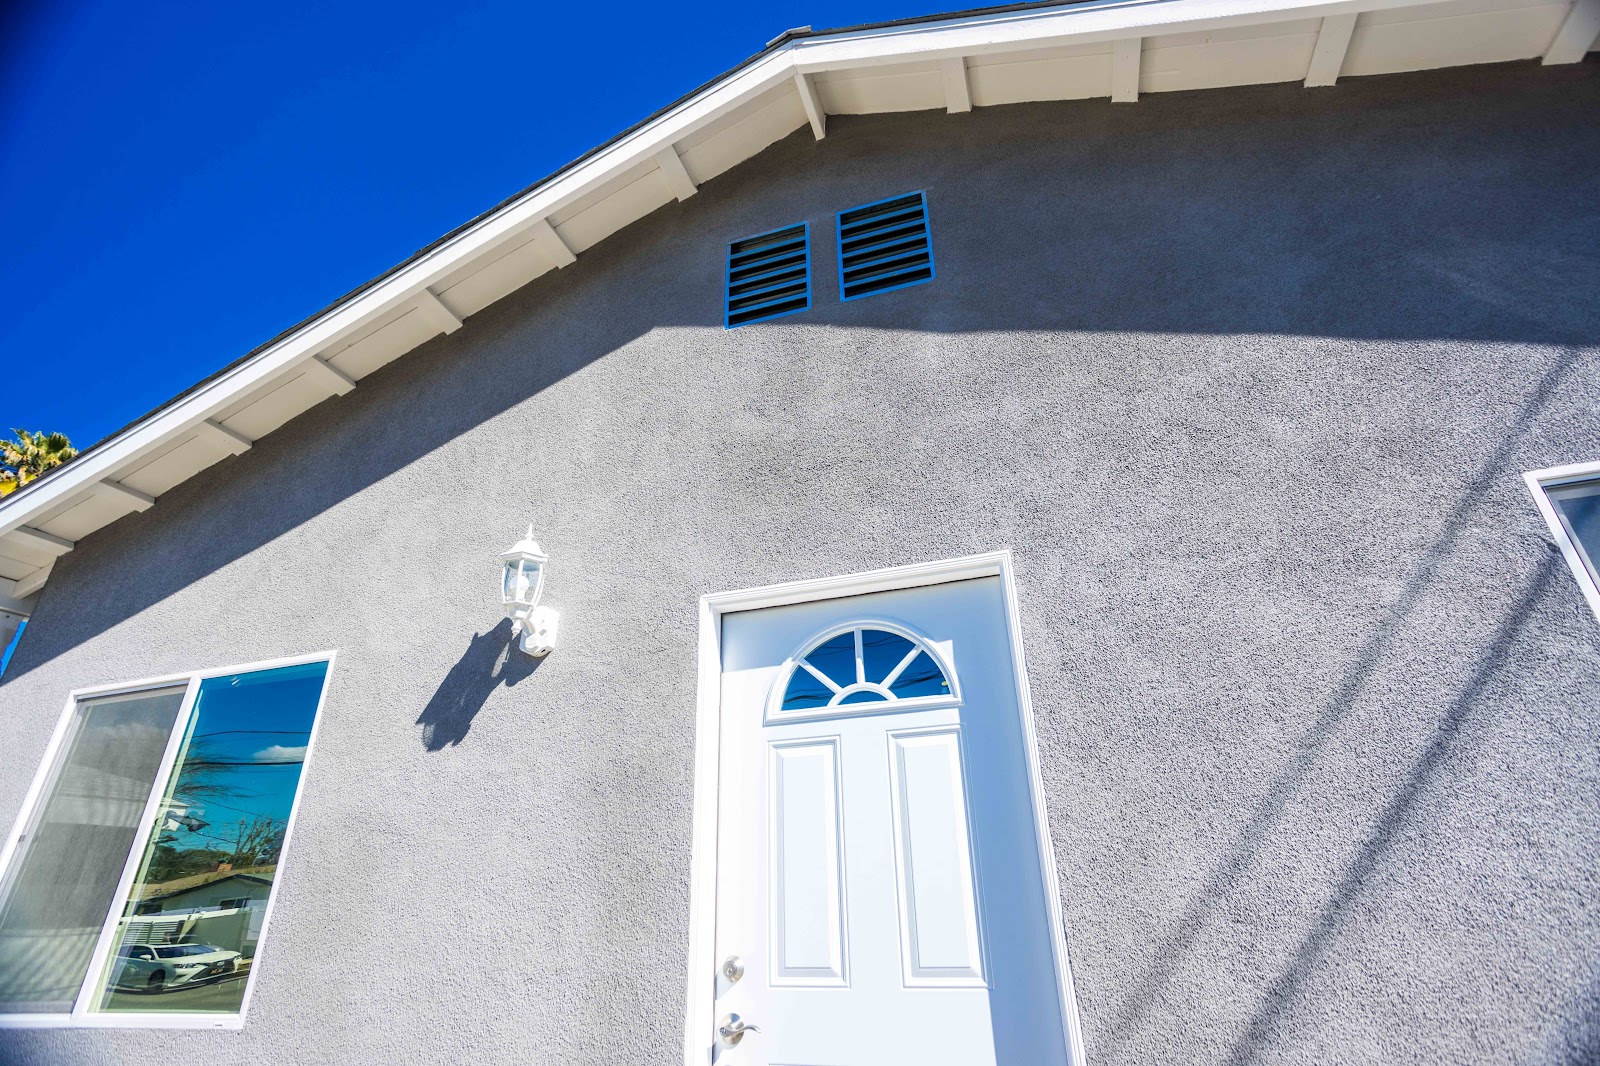
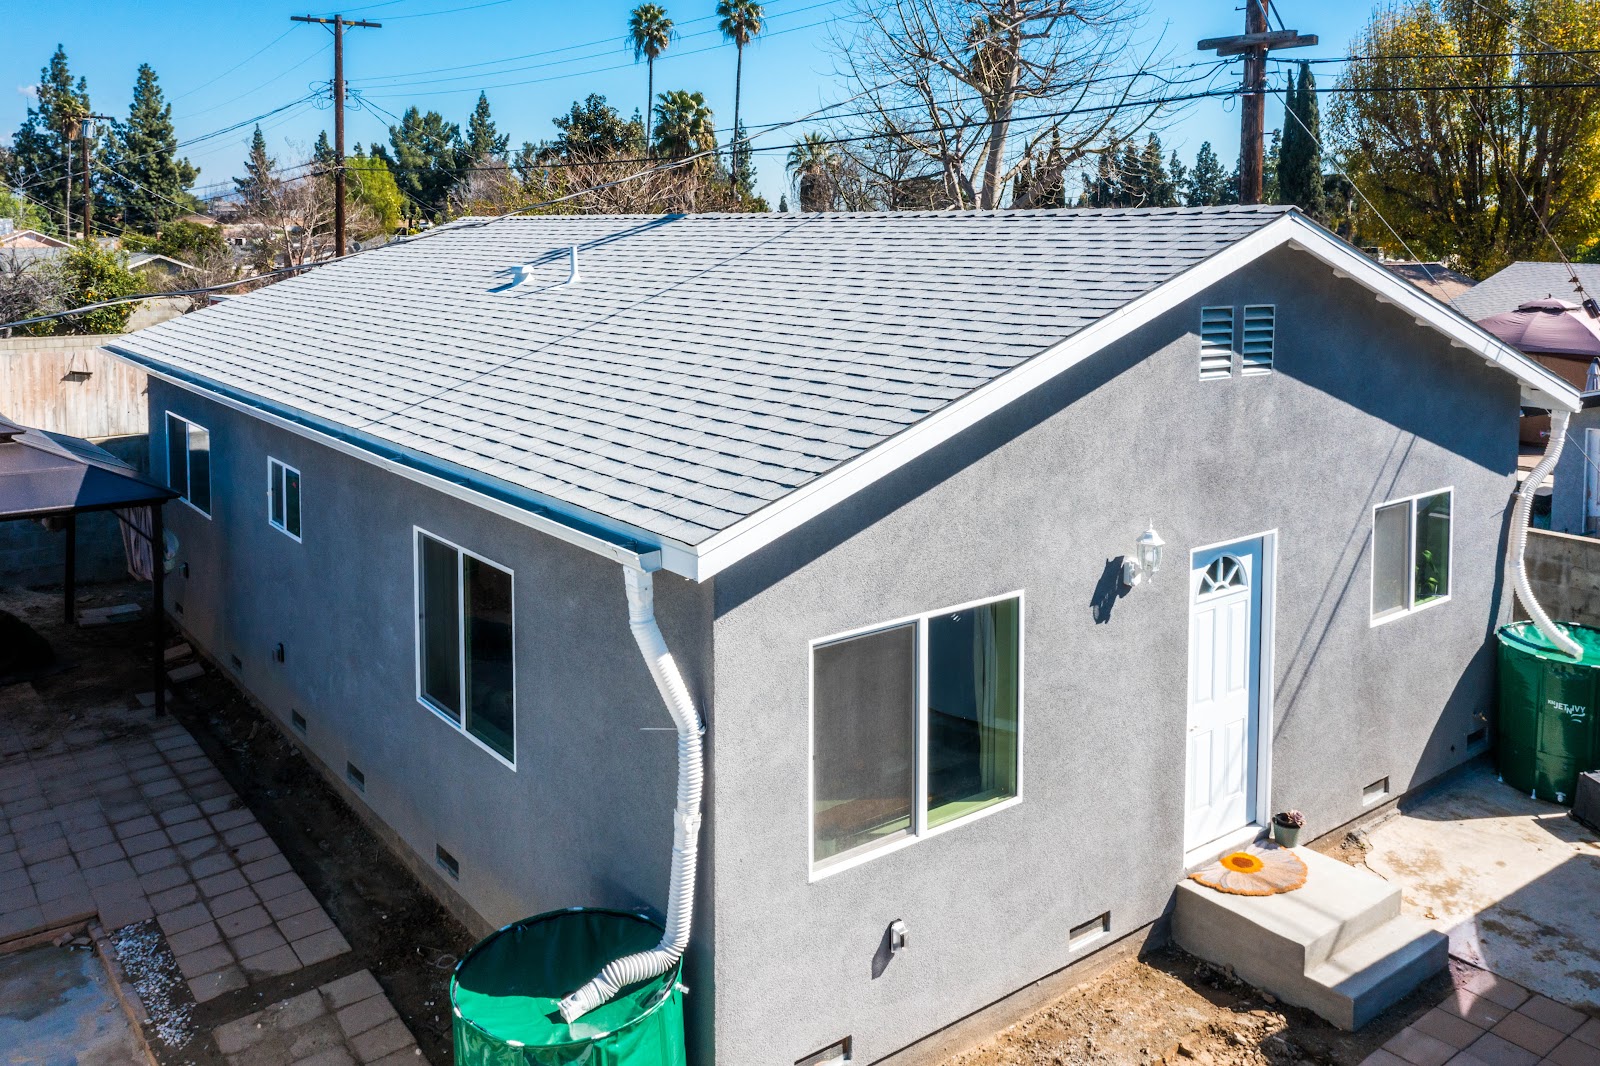
Then framing, roof, windows and exterior doors, and the building gets weather-tight. After that comes the exterior finish, which here is stucco over a new composition shingle roof, chosen to sit comfortably alongside the main house rather than announce itself.
The photographs at this stage are not pretty, and that is the point. Bins, bare ground, a portable toilet. When people say building an ADU is disruptive, this is the period they mean: roughly the stretch between breaking ground and getting the shell closed in.
It is also the cheapest time to change your mind. Moving a window while the wall is open is a morning’s work. Moving it afterwards is a small project.
Stage two: the rough trades, and the inspections nobody budgets time for
With the shell closed, plumbing, electrical and mechanical go in while the walls are open. On a small building these are tight, and the coordination matters more than it does in a large house because there is simply less room to route anything around a conflict.
Utilities are the part that catches people out financially. An ADU needs water, waste, power and usually gas, and those have to come from somewhere. If the main house panel has no spare capacity, you are looking at a service upgrade. If the sewer connection is on the far side of the property, you are trenching across it. Neither shows up in a finishes budget, and both can exceed the cost of the kitchen.
Then inspections. Framing, rough plumbing, rough electrical, insulation. Each one sits between two stages, which means a delay does not just cost its own days, it holds up everything behind it. On a project this size, a week waiting for an inspector is a meaningful share of the schedule.
This is the main argument for using a single contractor who handles design, permitting and construction together. When building an ADU, the handoffs are where time disappears.
The living space: plan it as a real home
The most common mistake in a small build is designing it like a hotel room. People think in terms of a bed, a kitchenette and somewhere to sit, and the result feels temporary.
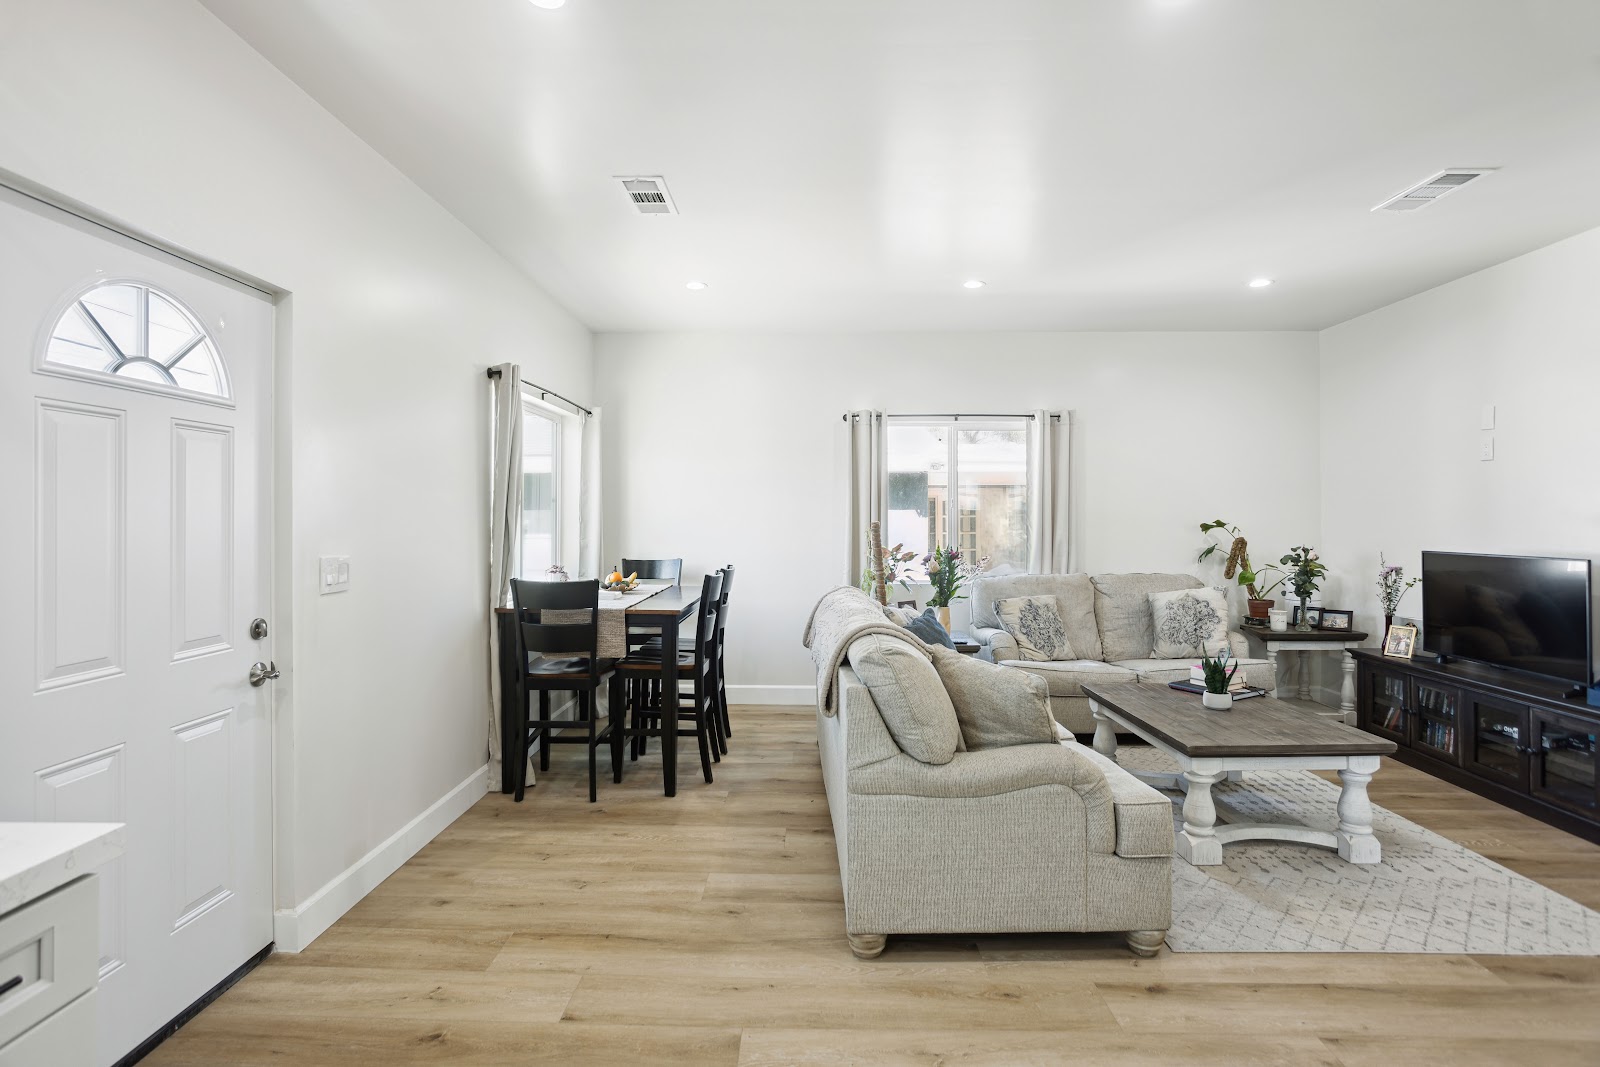
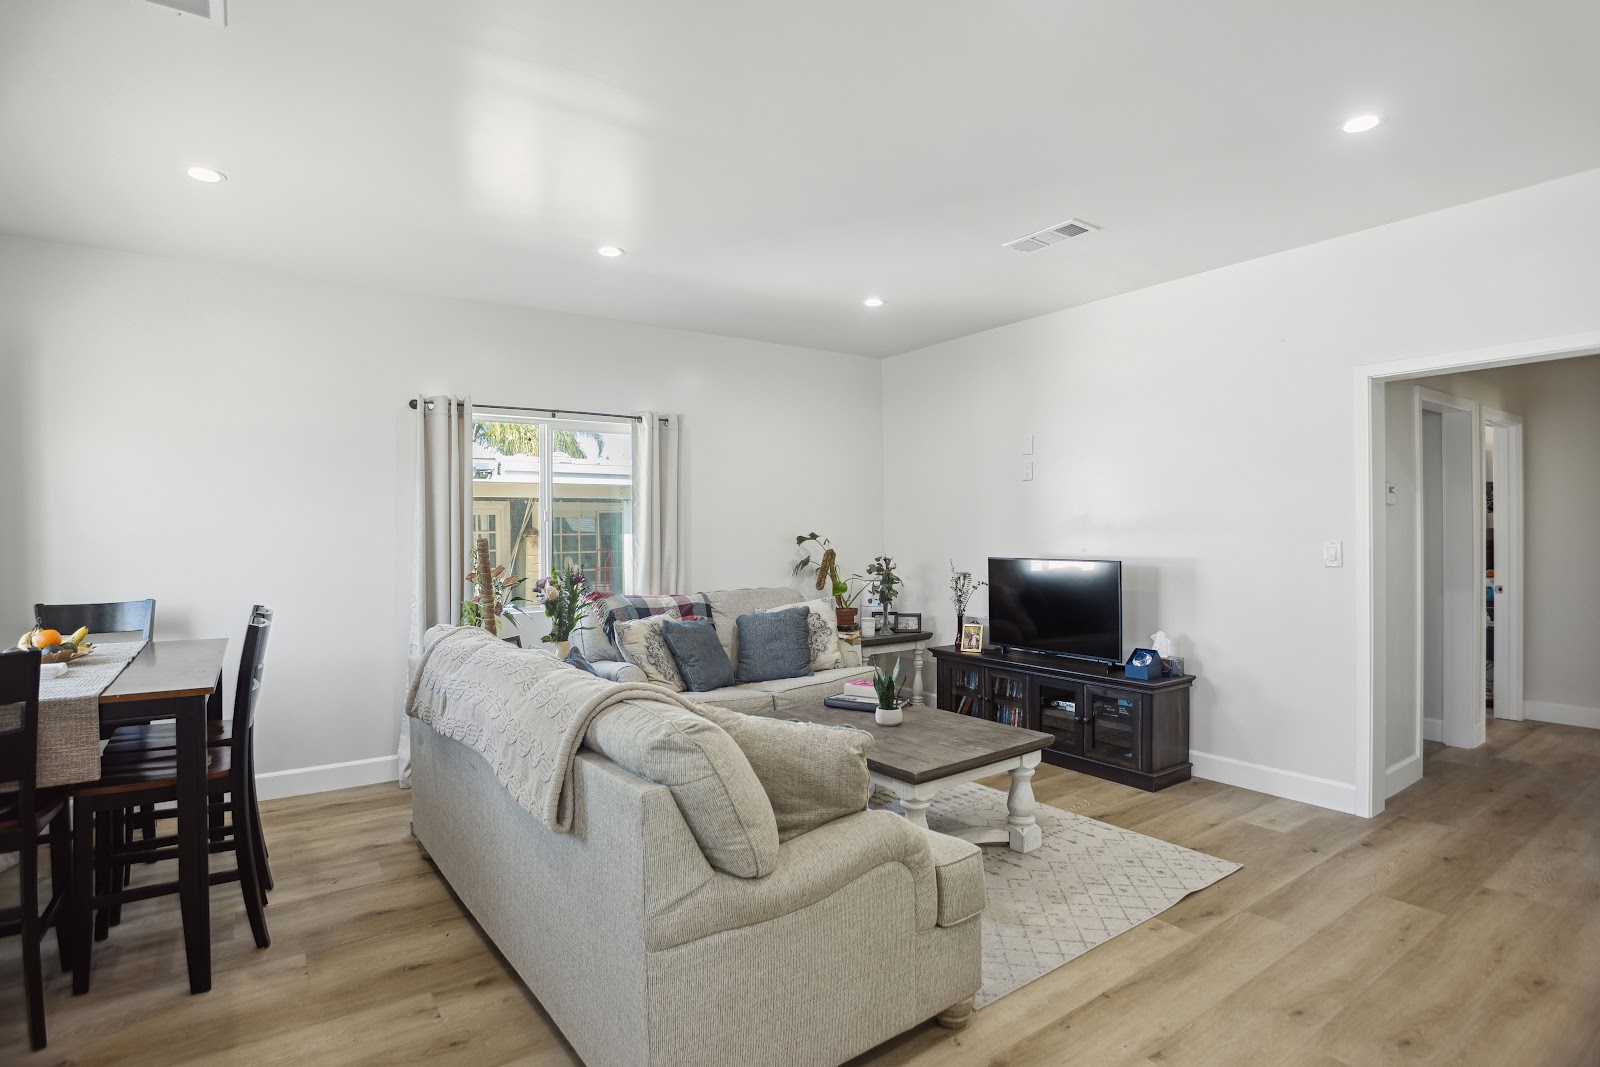
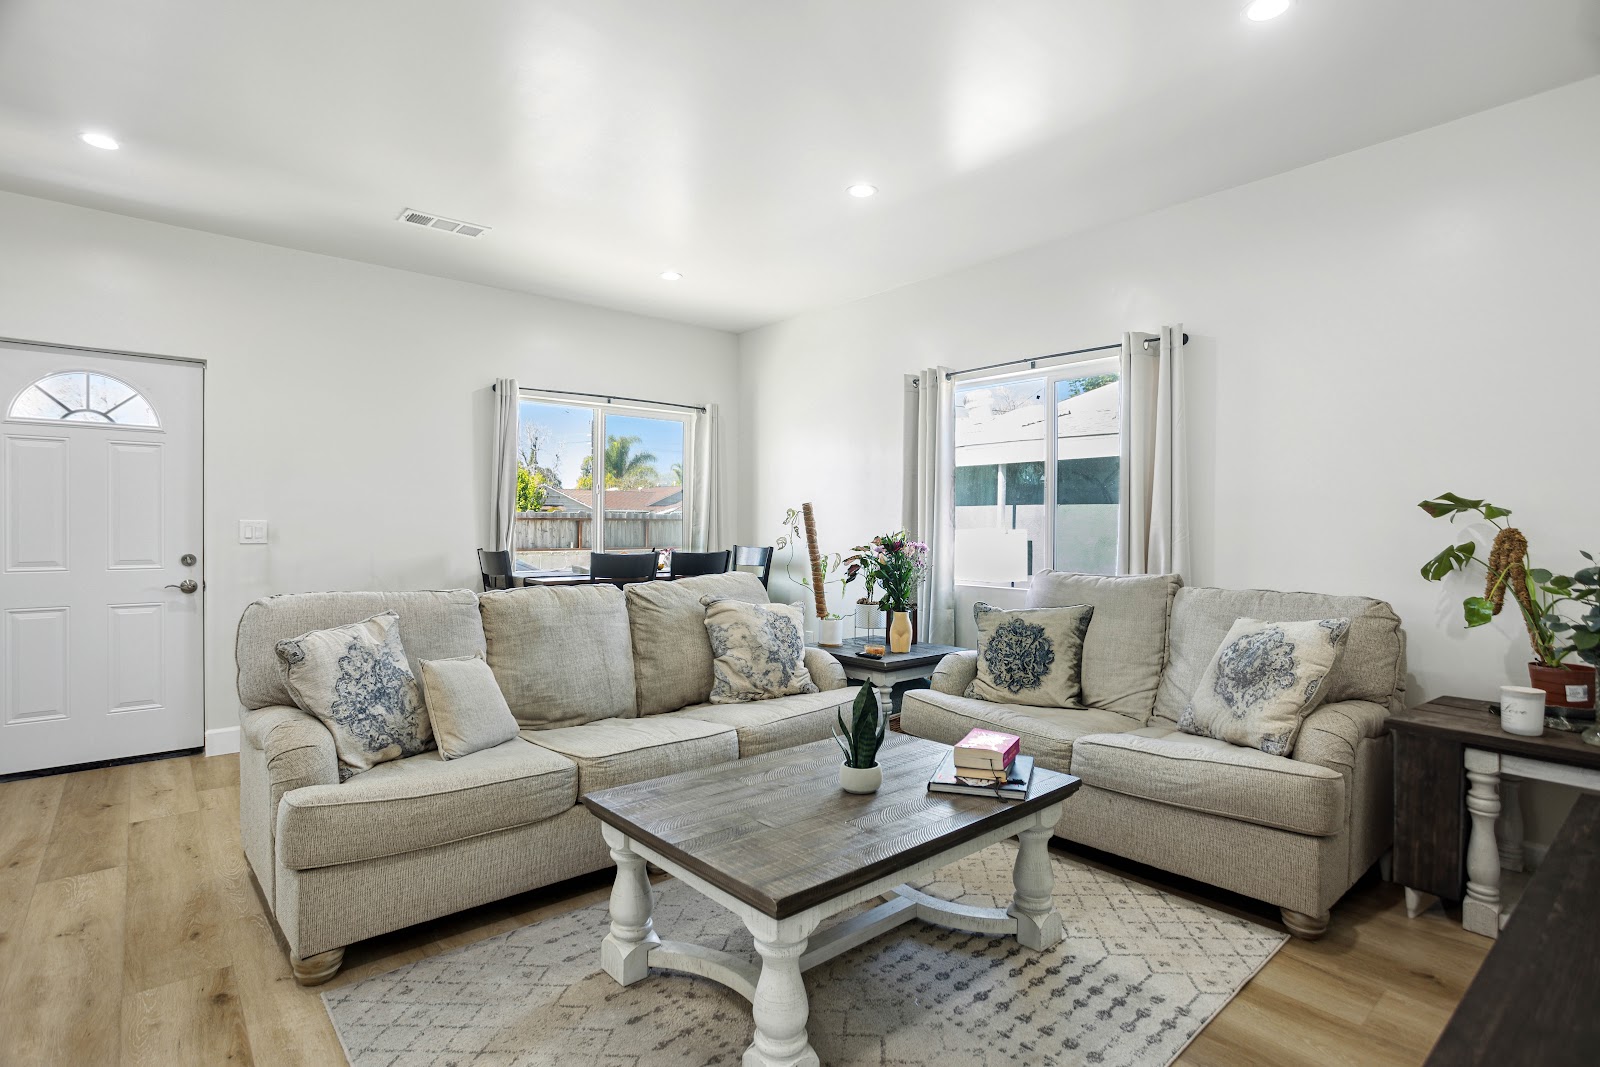
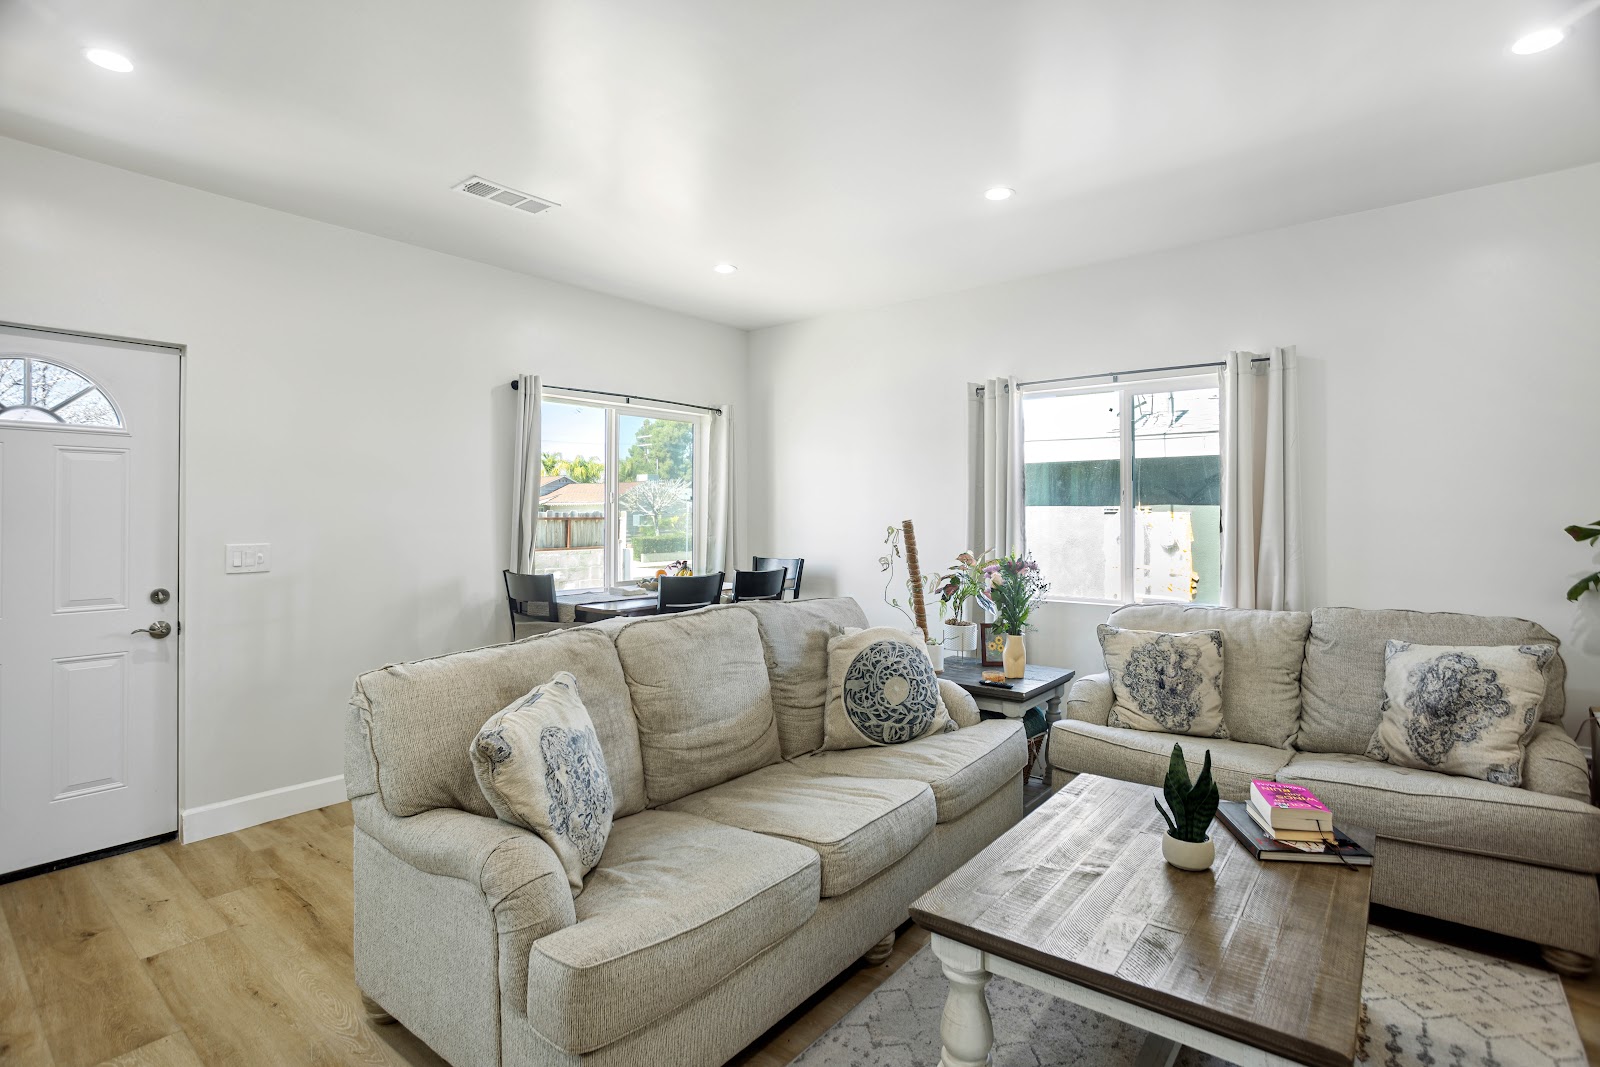
This one was laid out as a proper home. Living, dining and kitchen share one open volume, so the space reads as generous rather than subdivided. Windows sit on more than one wall, which matters enormously at this size — daylight from a single direction makes a small room feel like a corridor.
The ceiling was left open to the roof pitch in part of the plan. Vertical volume is the cheapest square footage available when you cannot go outward, and it costs almost nothing if you are framing the roof anyway.
Vinyl plank runs throughout, which is a sensible choice for a unit that may be rented. It handles water, it handles furniture being dragged across it, and it can be repaired plank by plank.
The kitchen is where small plans succeed or fail
Put a compact kitchen in and the unit reads as temporary accommodation for ever. Put a proper one in and it reads as a house. When building an ADU, this single room decides which of the two you end up with.
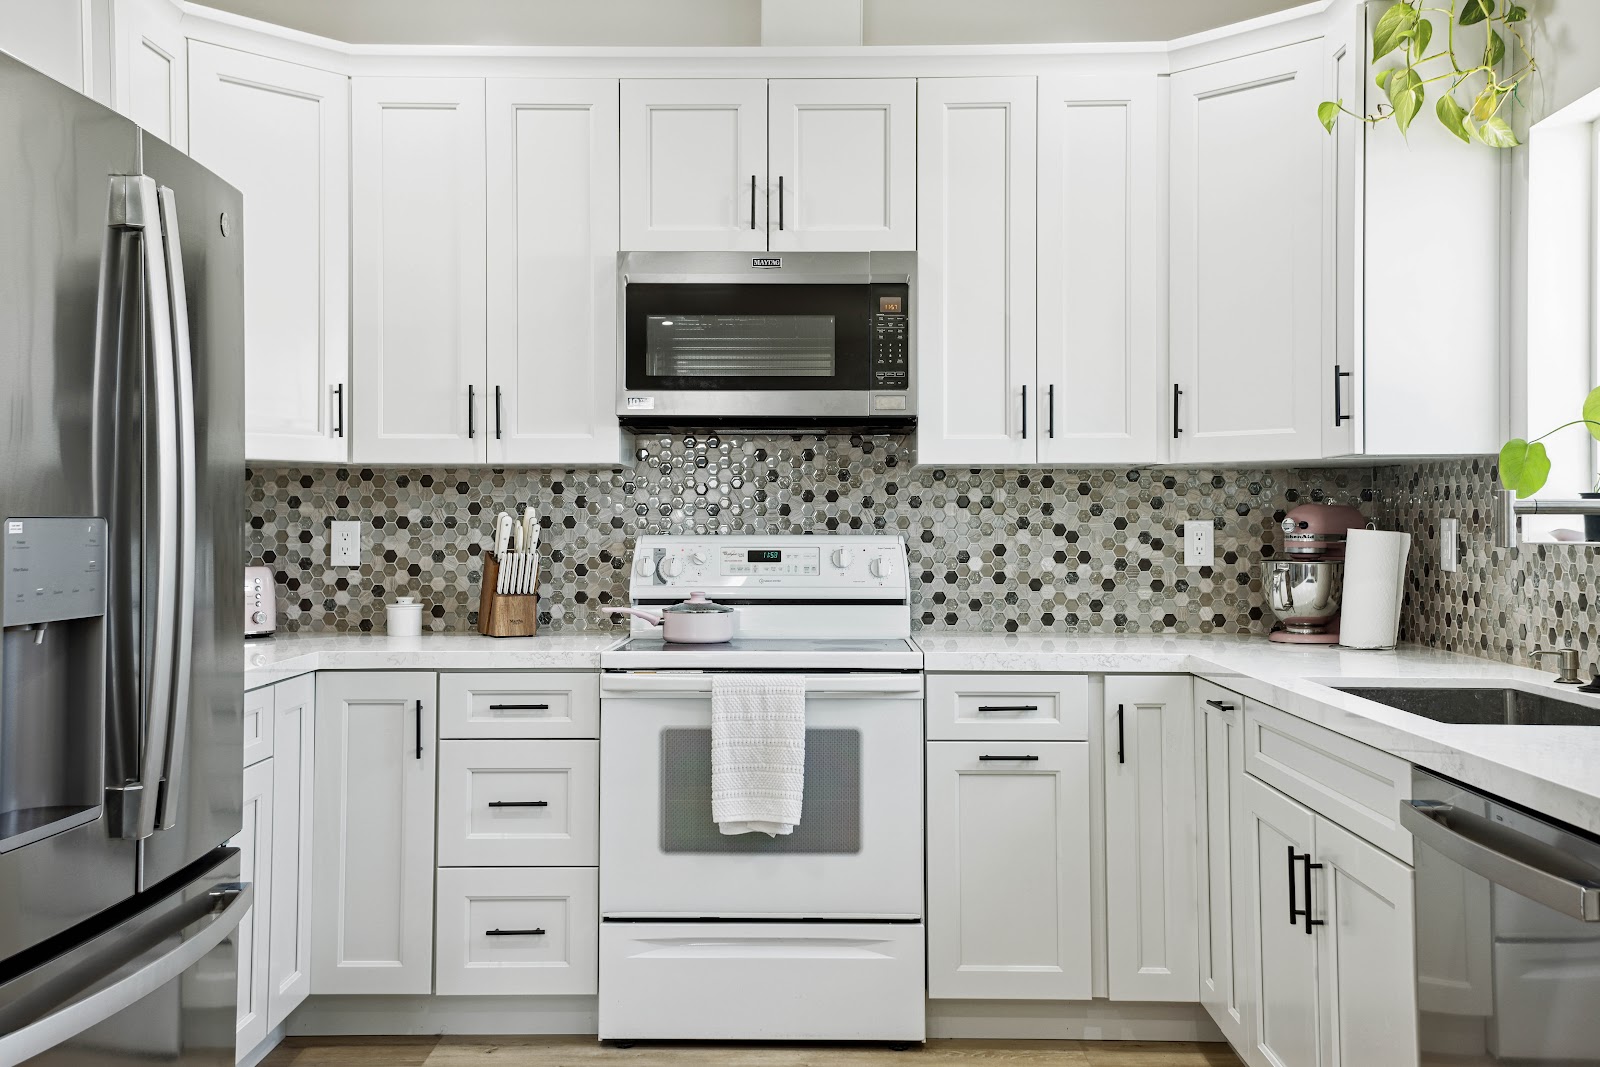
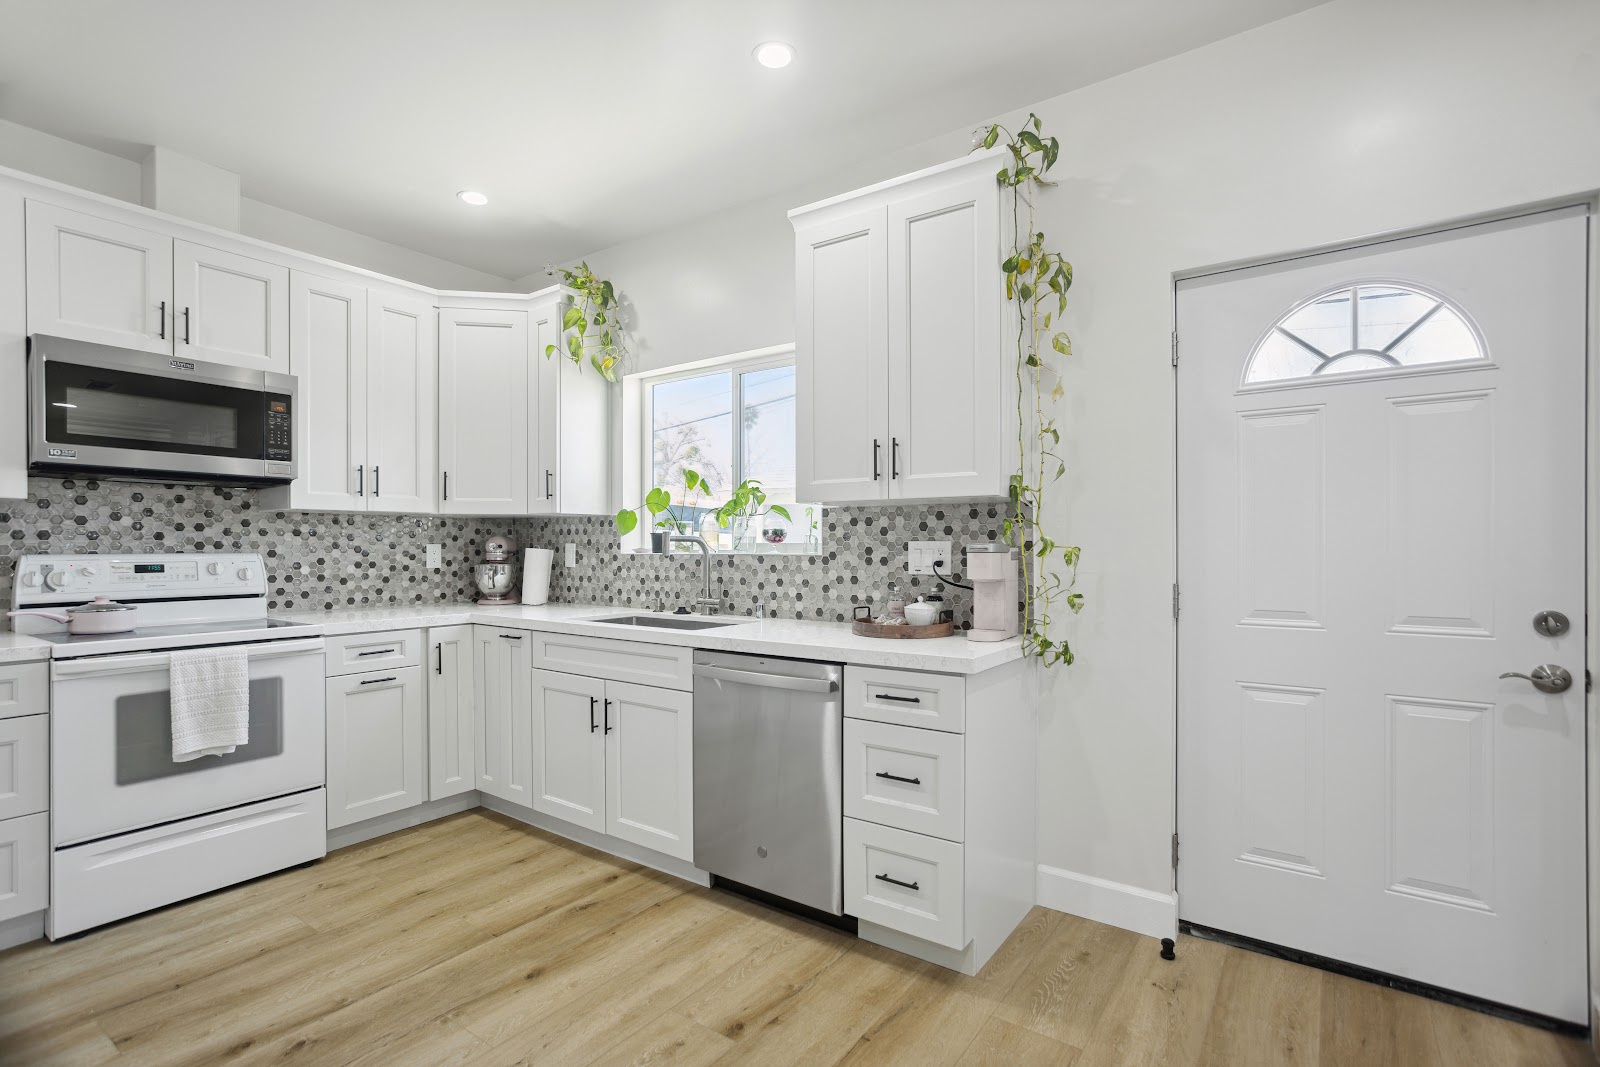
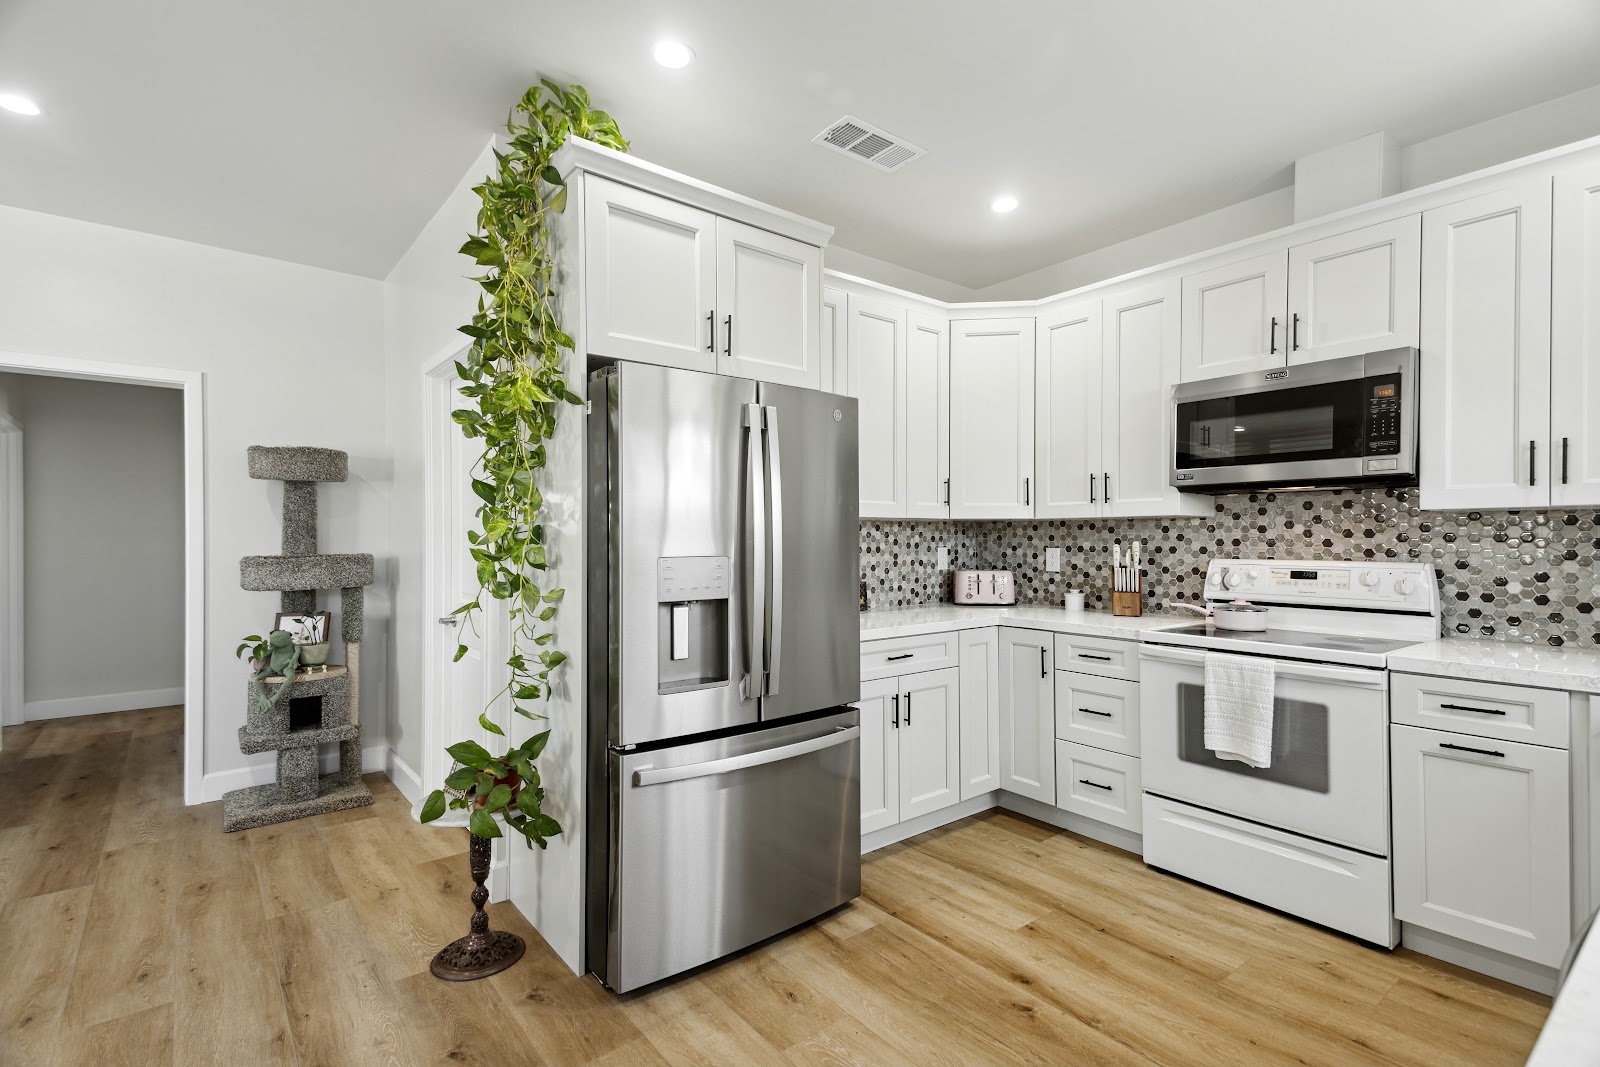
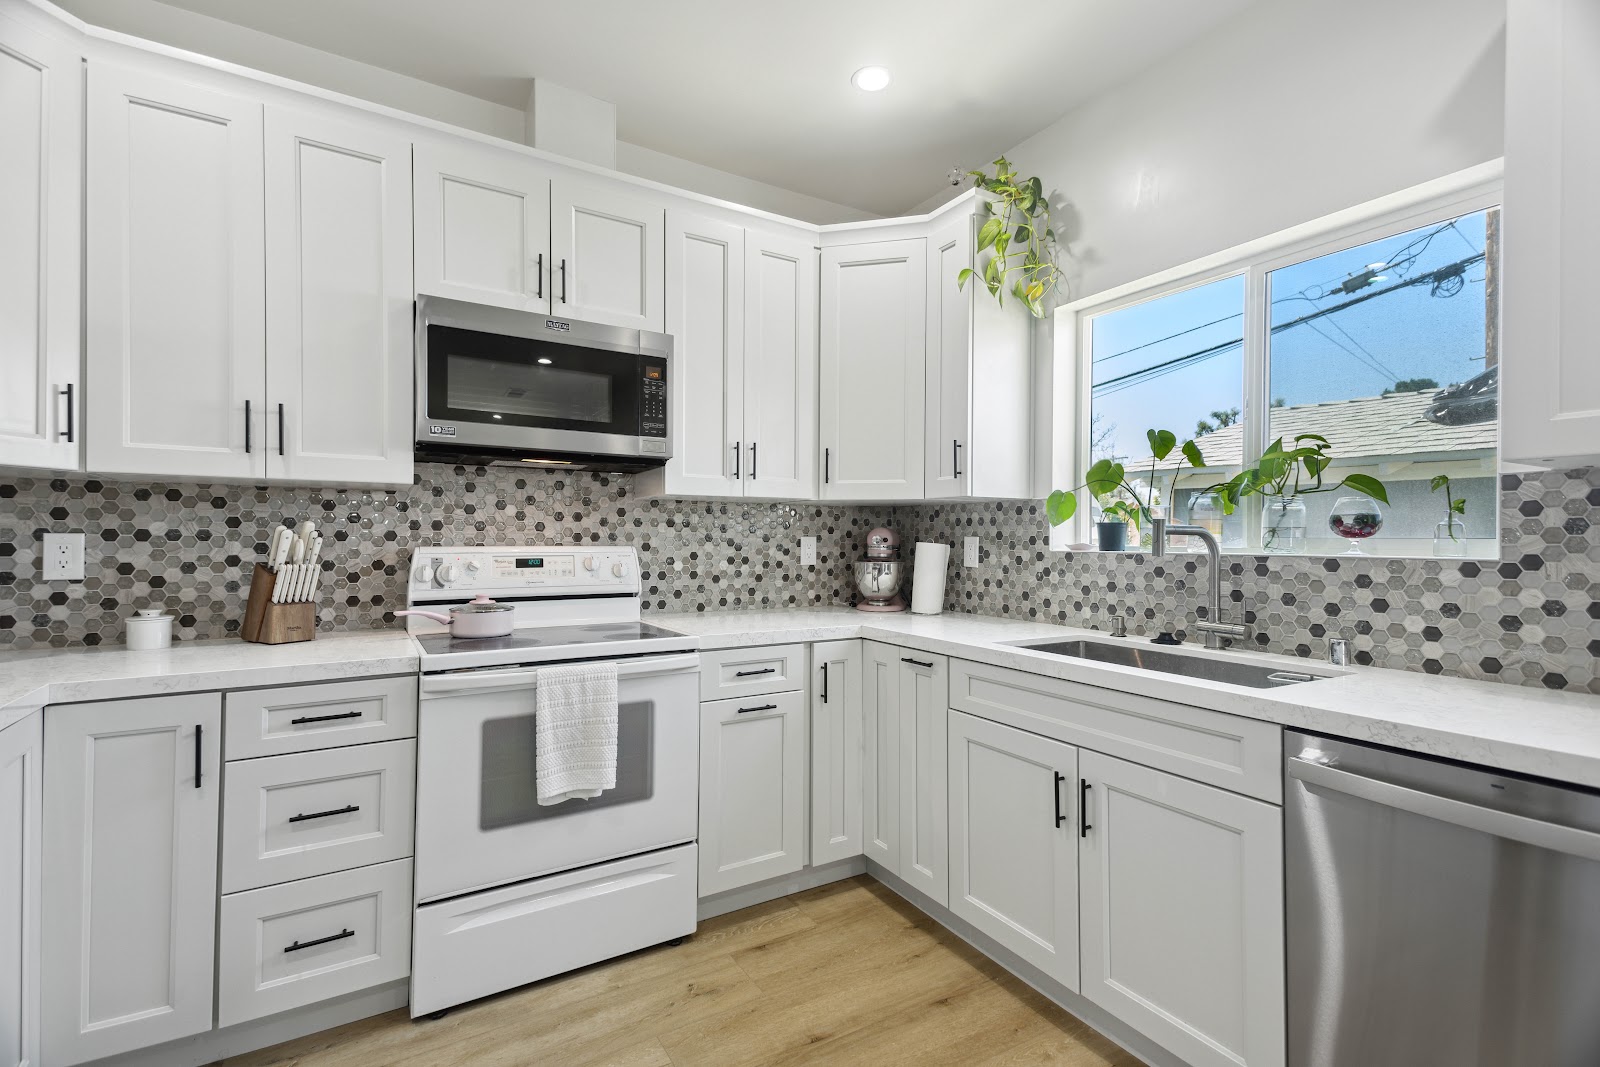
This kitchen takes an L-shaped run along two walls, which is the most efficient layout available in a small footprint because it keeps the working triangle tight without consuming floor area with an island. Cabinets run to the ceiling, so the storage people assume they are losing is recovered vertically.
Most importantly, the appliances are full size. A standard refrigerator, a standard range, a real dishwasher. Compact appliances cost roughly the same, hold considerably less, and are harder to replace when they fail. There is very rarely a good reason to specify them.
The glass mosaic backsplash is the one decorative move, and it is a sensible place to make it — a small area, inexpensive to change, and it stops an all-white kitchen feeling like a rental.
Bathrooms: where a small budget goes furthest
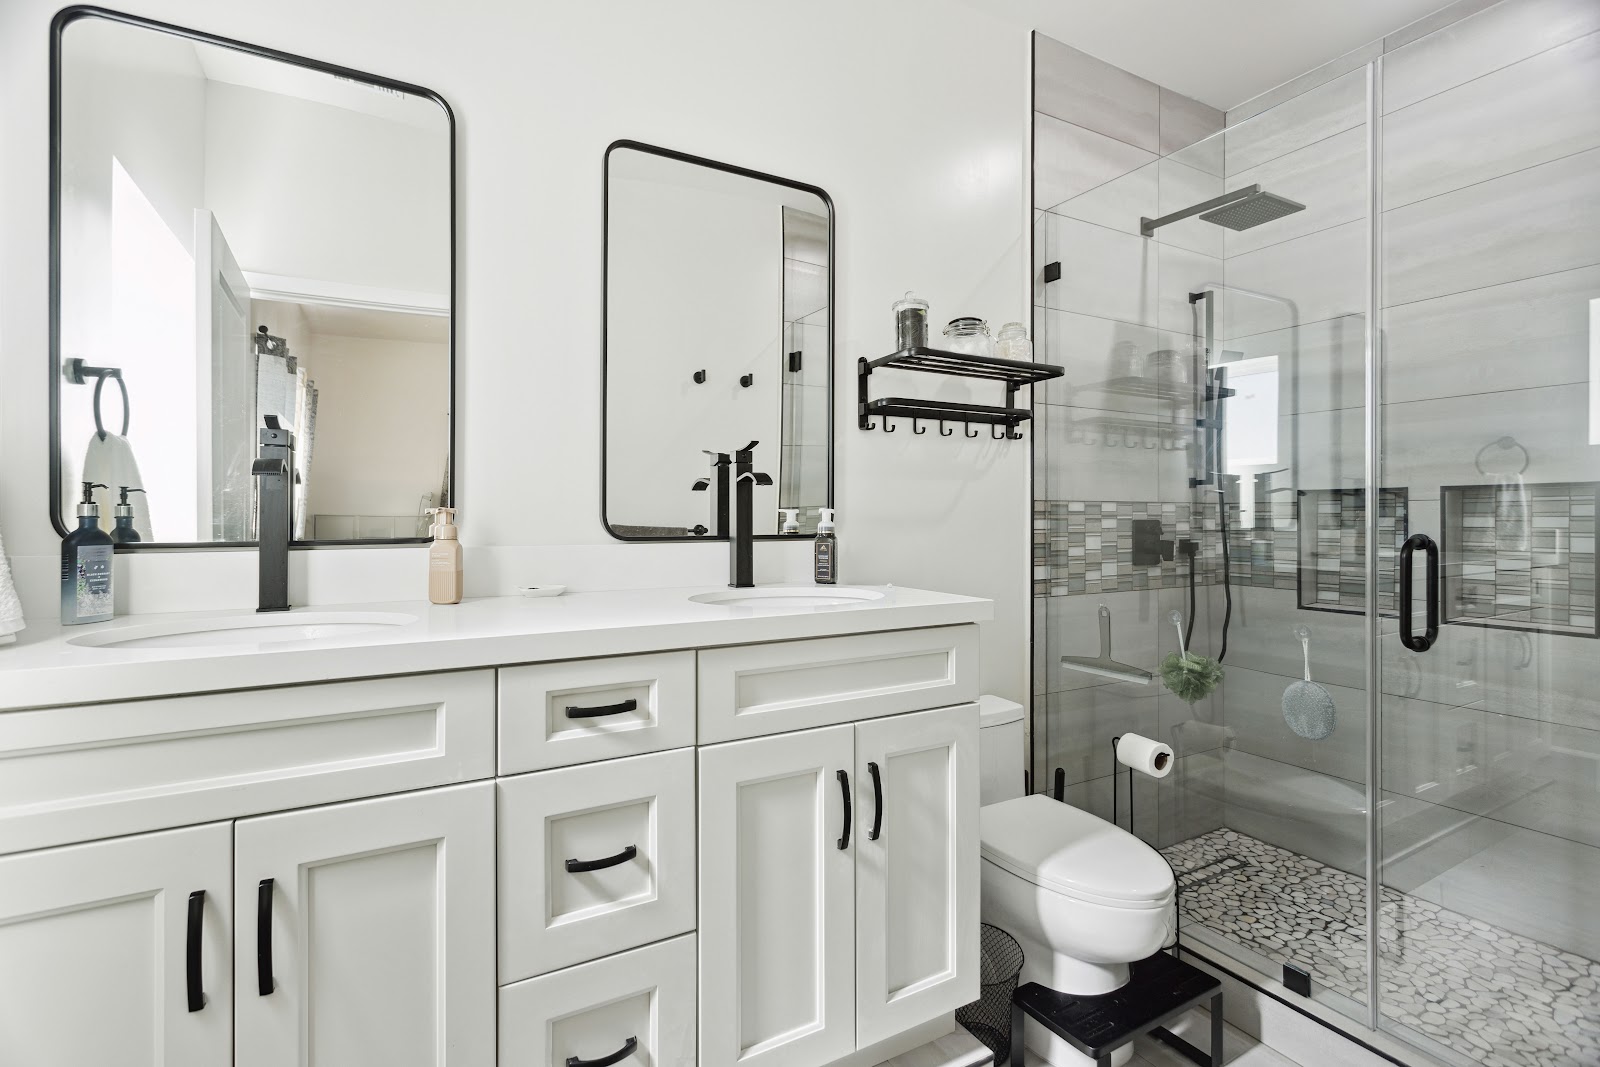
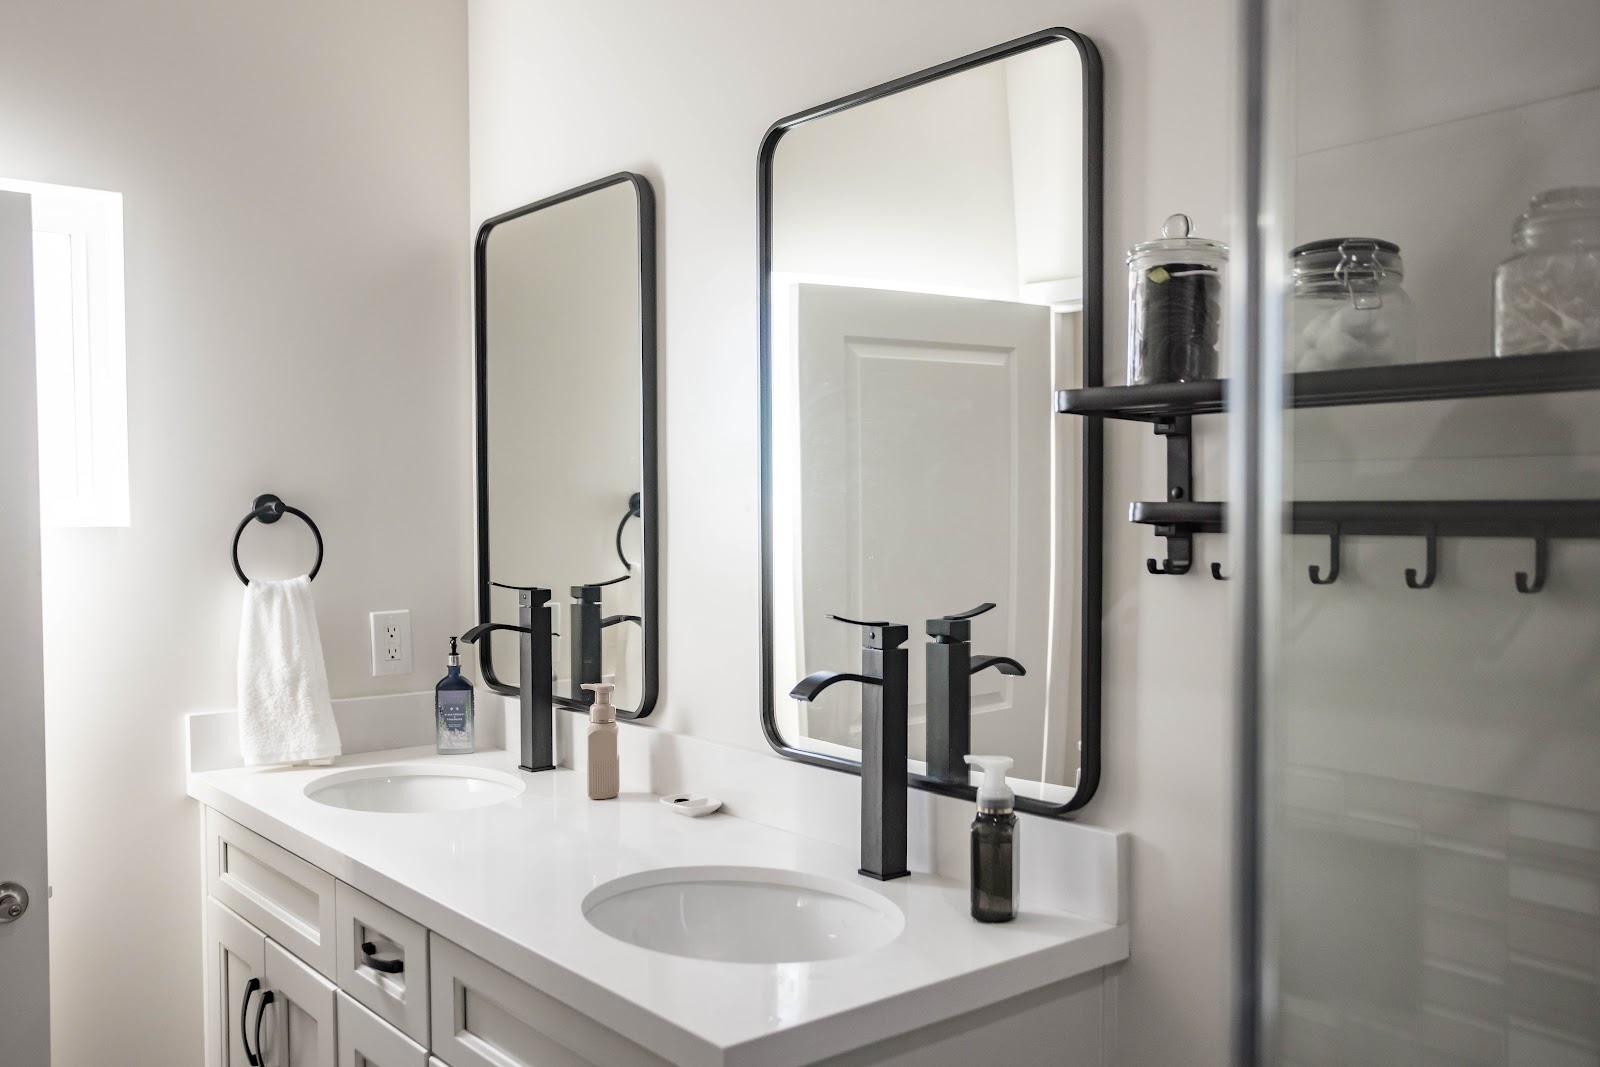
Bathrooms are small, so good materials cost little in absolute terms. Of everywhere you can spend when building an ADU, this room returns the most per dollar. This is the one room in an ADU where upgrading barely moves the budget and noticeably changes how the place feels.
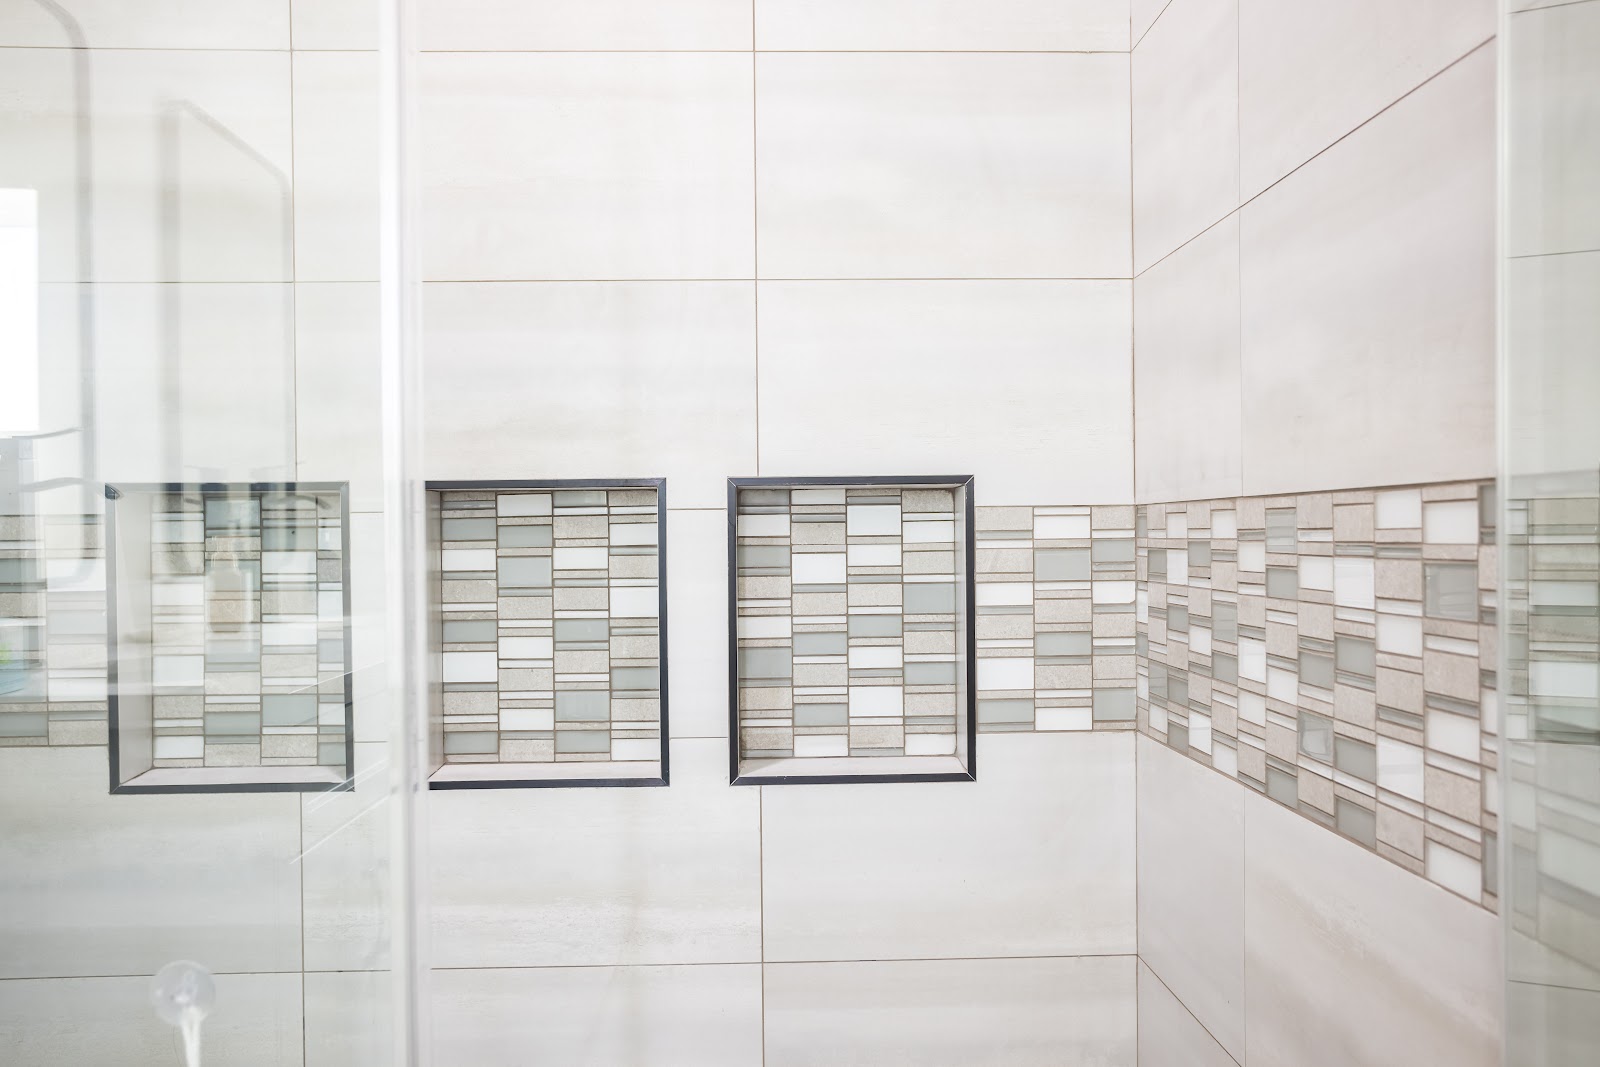
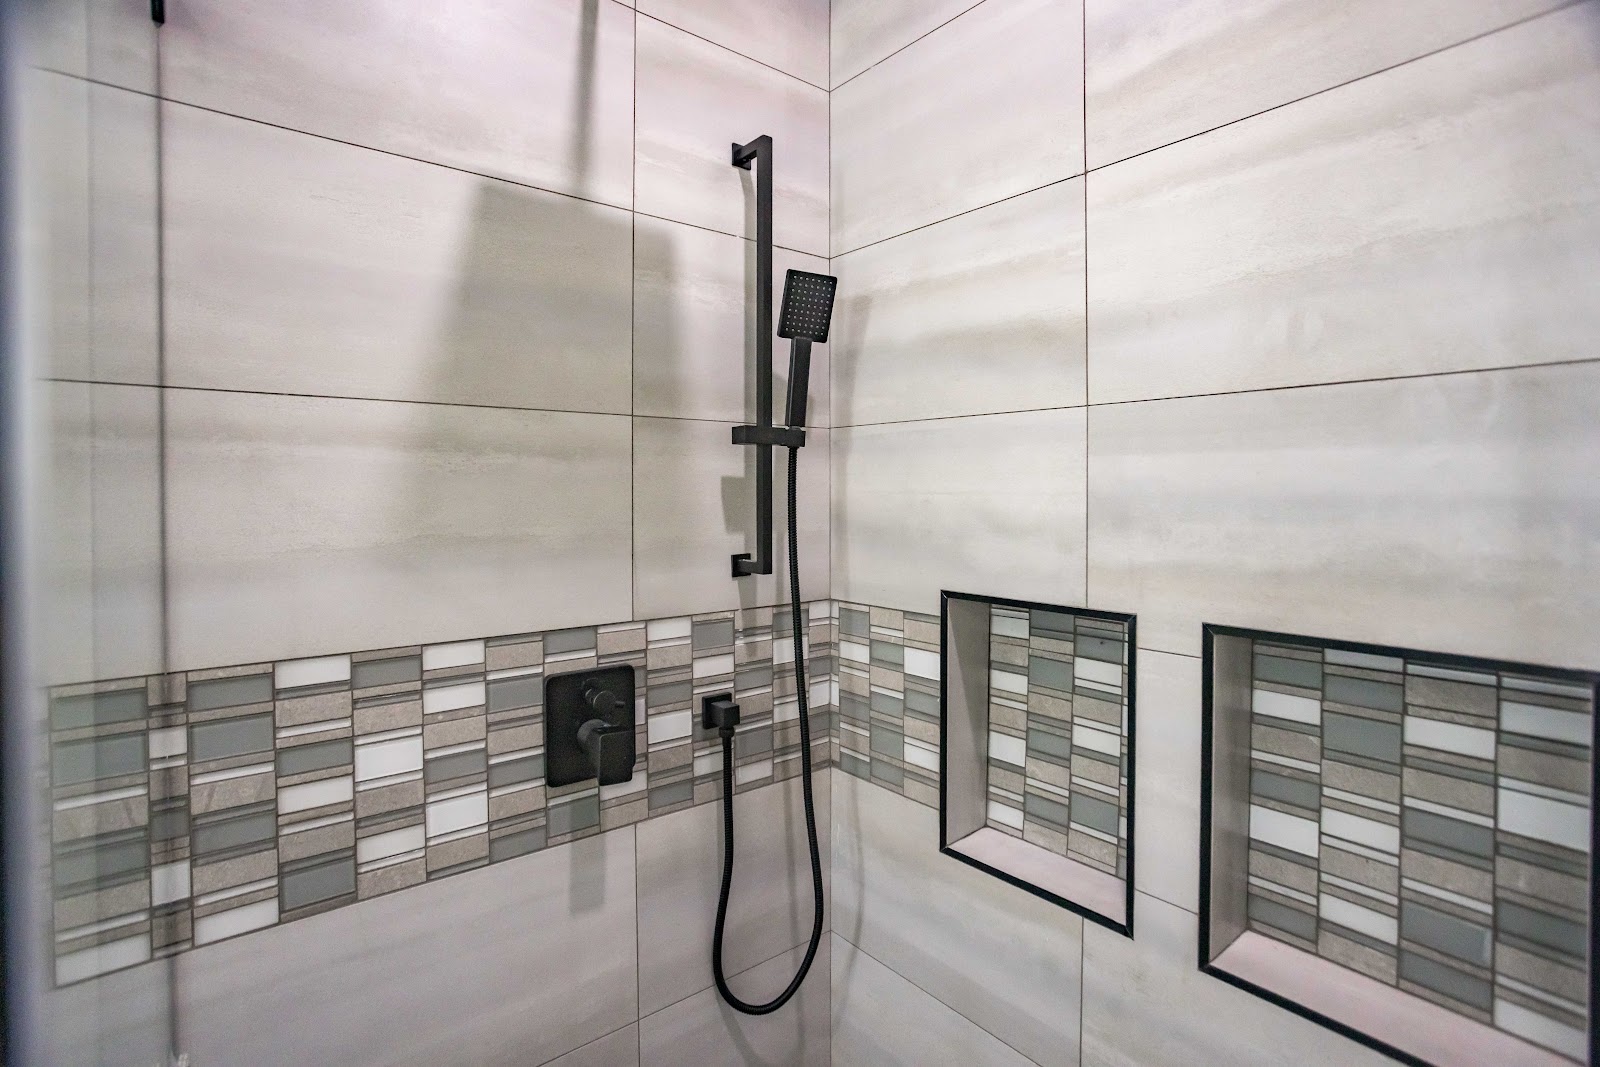
Here, large-format tile runs up the walls, which means fewer grout lines to clean and a calmer surface. A single band of glass mosaic crosses the wall and continues into the recessed niches, so the accent is structural to the design rather than stuck on.
The niches themselves are worth insisting on. They cost almost nothing while the wall is open and they remove the need for anything hanging off the shower screen.
Black fixtures and black-framed mirrors against white tile is a hard-wearing combination, and the double vanity is a genuine luxury at this scale. If two people will ever live here, it is worth the width.
What to settle before you start
How will it be used? A rental, a family member, a home office or a future downsize all lead to different plans. Decide honestly, because it changes the layout.
Where do the utilities come from? Get this surveyed early. It is the single most common source of unexpected cost when building an ADU.
What does your city actually allow? Setbacks, height limits, parking and owner-occupancy rules vary. State law sets a floor, not a ceiling.
Where does it sit on the lot? Think about the main house’s windows and garden as well as the new building’s privacy. Both have to work afterwards.
Who is managing the whole thing? Design, engineering, permitting and construction are four different disciplines. Someone has to own all four.
Our ADU construction and ADU design and planning pages explain how we handle those phases, and the 650 sq ft floor plan shows how the space works at a typical size.
Thinking about an ADU in your back yard?
The first question when building an ADU is always whether your lot will take one, and that is answerable in a single visit. H&A My Design handles design, permitting and construction under one roof, so you are not managing four separate parties.
We will walk the site, look at where your utilities run, and tell you honestly what is possible before you spend anything on drawings.
Book a free consultationCall 1-800-285-3002
More on how we work: ADU builder · detached ADUs · why homeowners choose us